Amazon S3 integration allows you to upload your agent result CSV file on your S3 bucket on AWS selected region.
Amazon S3 also known as Amazon Simple Storage Service or S3 is a scalable, high-speed, web-based cloud storage service by AWS designed for online backup and archiving of small to large set of data on cloud with very low cost and high durability.
This AWS S3 tutorial will explain how you can use Agenty S3 workflow to transfer your agent result CSV file to your S3 bucket on AWS for backup, or to move the Agenty data on your cloud infrastructure where your other projects or server are running.
How to configure Amazon S3 bucket, step by step tutorial:
Create an Amazon S3 Bucket
- Sign in to your AWS console account and find the S3 service.
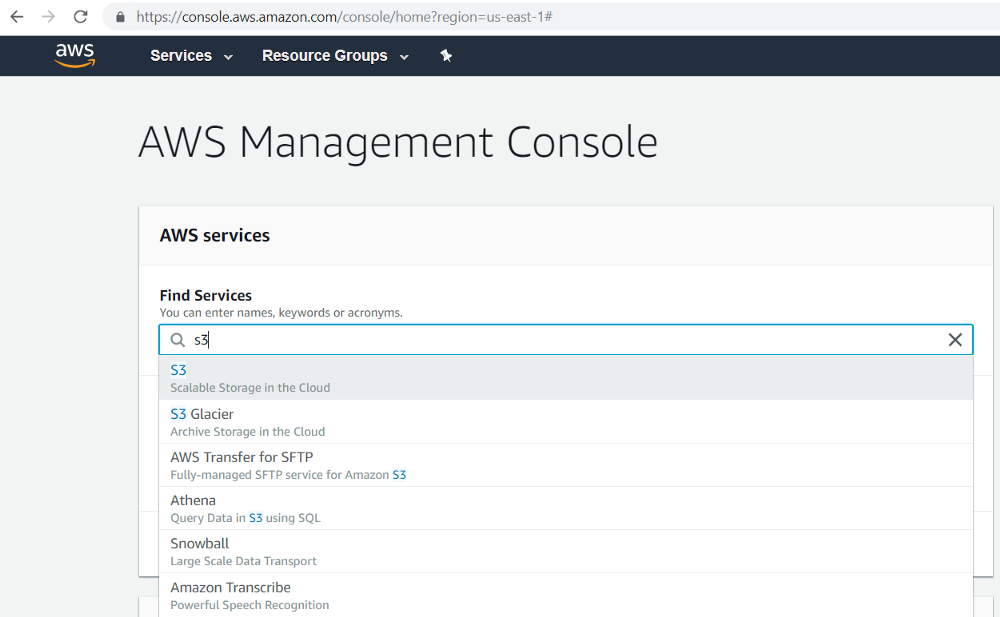
- Clicking on S3 will open the dashboard
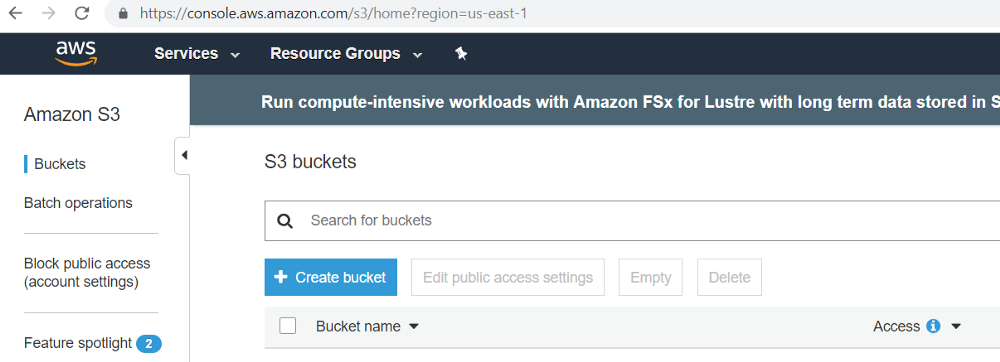
-
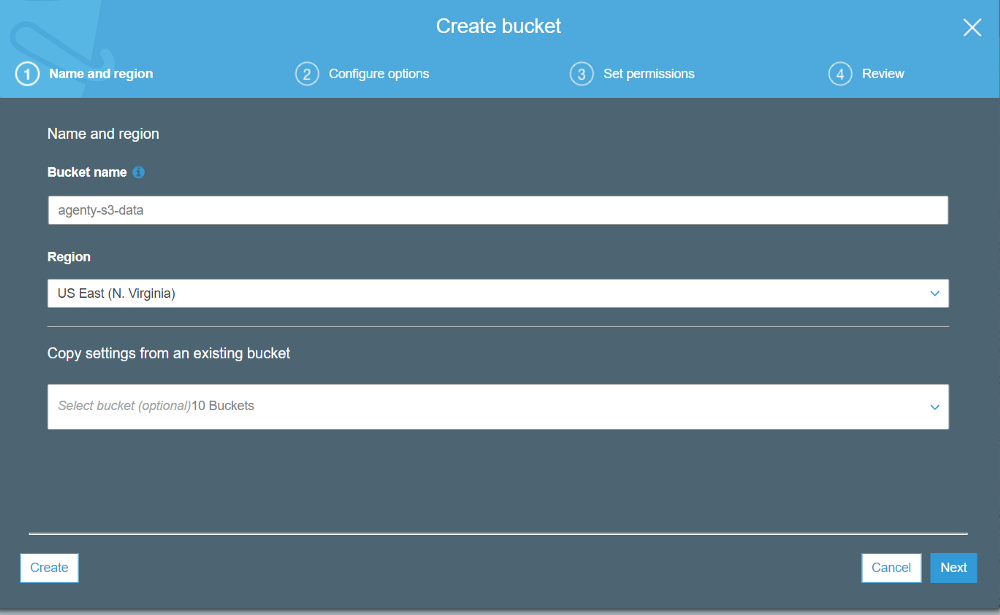
Click on the Create bucket.
-
Give a name to your bucket and select one of the regions where you want to store your data physically. Then click on next-next to complete the wizard to finally confirm and your bucket will be ready in a few minutes.
IAM Access
Once the bucket has been created, we’ll use IAM management feature by AWS to create credentials and give limited access to Agenty to connect, upload data to this bucket only.

Note: Make sure programmatic access has been selected in access type, as Agenty will connect using the access id and secret key programmatically.
Create a new policy with below permission or use the S3 Full Access
{
    "Version": "2012-10-17",
    "Statement": [
        {
            "Sid": "AgentyAccessInBucket",
            "Effect": "Allow",
            "Action": [
                "s3:GetBucketCORS",
                "s3:AbortMultipartUpload",
                "s3:ListBucket",
                "s3:GetObject",
                "s3:PutObject",
                "s3:PutObjectAcl",
                "s3:DeleteObject",
                "s3:GetObjectVersion"
            ],
            "Resource": [
                "arn:aws:s3:::agenty-s3-data/*",
                "arn:aws:s3:::agenty-s3-data"
            ]
        }
    ]
}
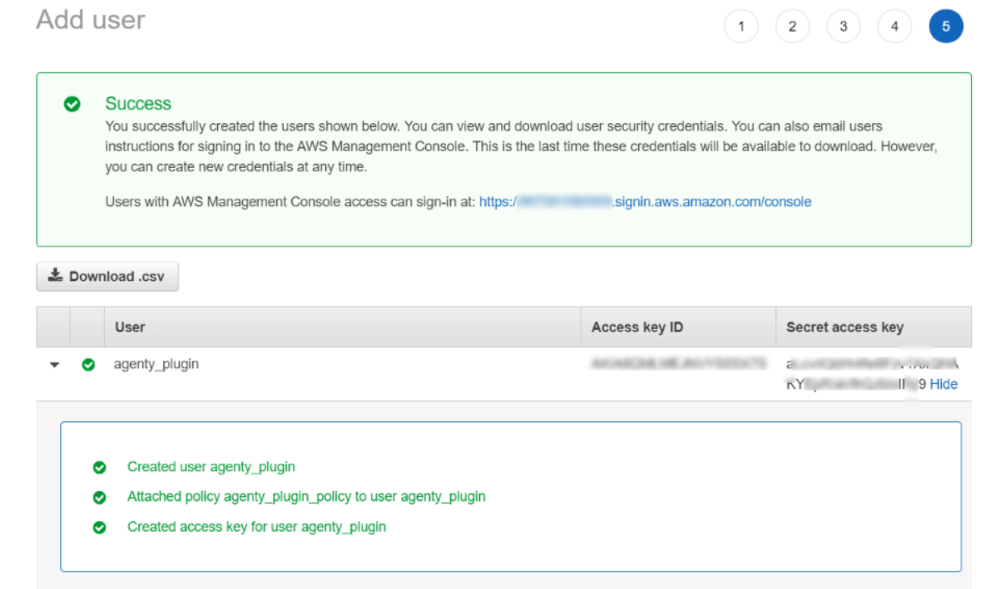
Finish the add user wizard and you’ll see the access key id and secret access key on the finish. This id and secret key will be used by Agenty plugin for authentication and transfer your agent result to your S3 bucket automatically.
Configure Amazon s3 Workflow
-
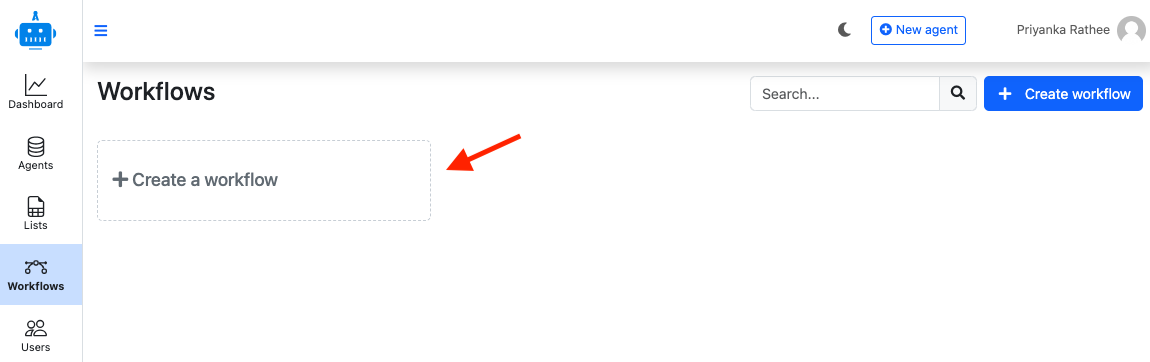
Go to the workflow tab and click on Create a workflow
-
The workflows page will open
-
Select Amazon s3 workflow from action 1
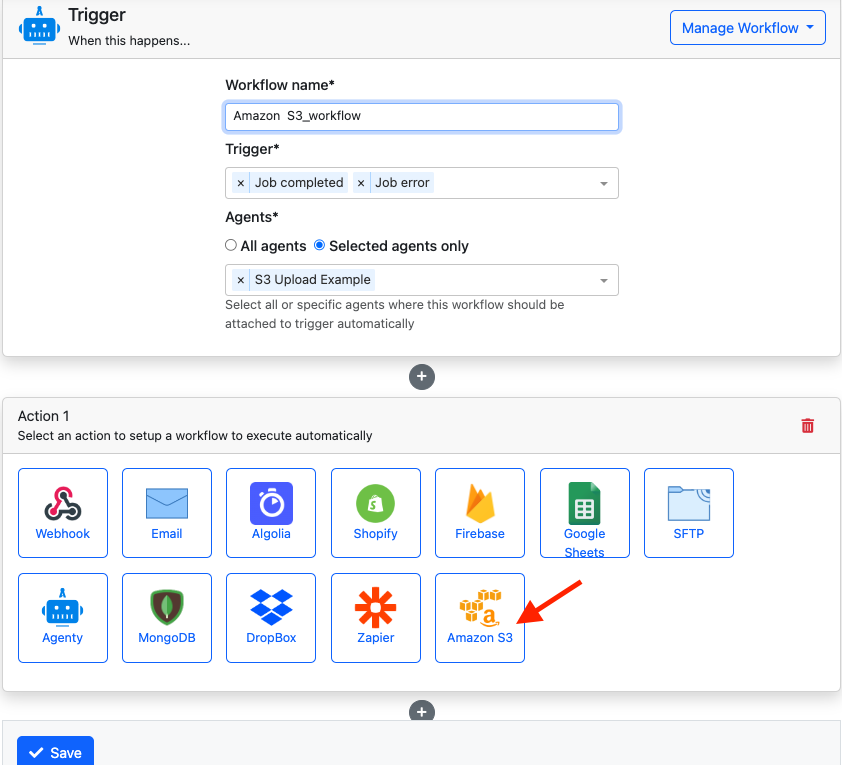
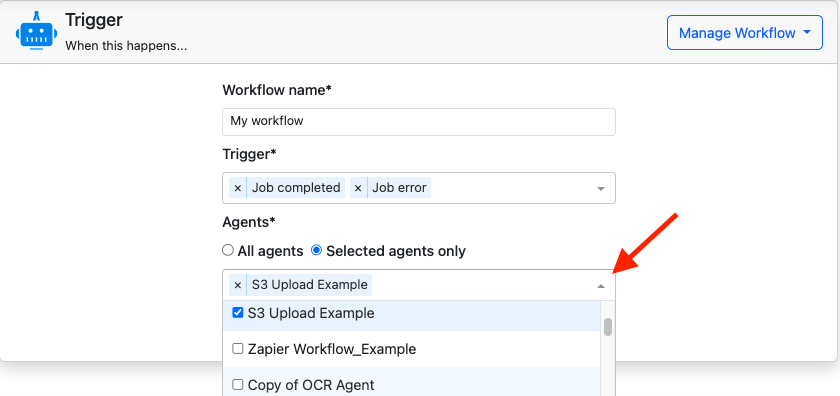
- Now complete your Triggers section Add workflow name> select triggers > select particular agent or multiple agent from dropdown
- Then, enter all the required details to configure S3 integration in step 2 :
AWS Access Key,secret key,region,bucket nameetc.,
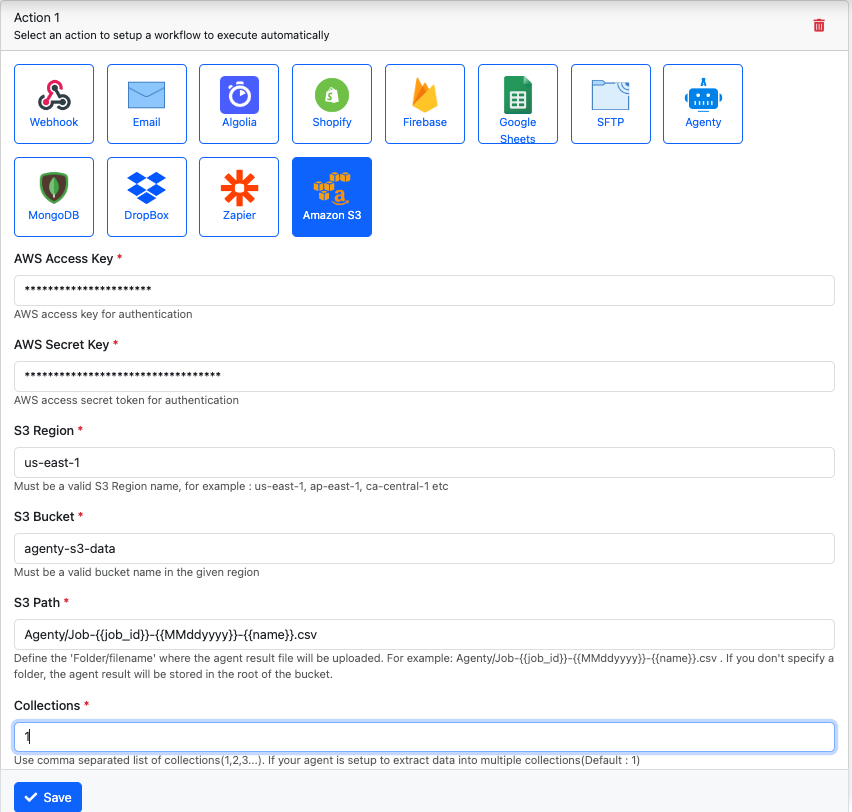
- Click on the Save button to attach this workflow.
Dynamic File Names
Agenty can automatically give a dynamic name to your result file while uploading to S3 bucket. You may use these 8 dynamic variables in S3 Path parameter to generate a dynamic file name run-time:
{{agent_id}}{{job_id}}{{MMddyyyy}}{{yyyyMMdd}}{{yyyy-MM-dd}}{{yyyy}}{{MM}}{{dd}}
You can use either one or combination of multiple dynamic variables to make a file name of your choice. The dynamic variable will help to differentiate each uploaded file on different run by using the agent_id, job_id, date etc variables. For example, if a data scraping job was started on 2nd of June 2019, the following dynamic names will result in :
-
Agenty/{{MMddyyyy}}/result.csvwill be converted intoAgenty/06022019/result.csv -
Agenty/job_{{job_id}}_output.csvwill be converted intoAgenty/job_40942_output.csv -
{{yyyy}}/{MM}/{{dd}}.csvwill be converted into2019/06/02.csv
Note : The dynamic variable names must be used in double-curly braces. For example
{{name_of_variable}}
Try it
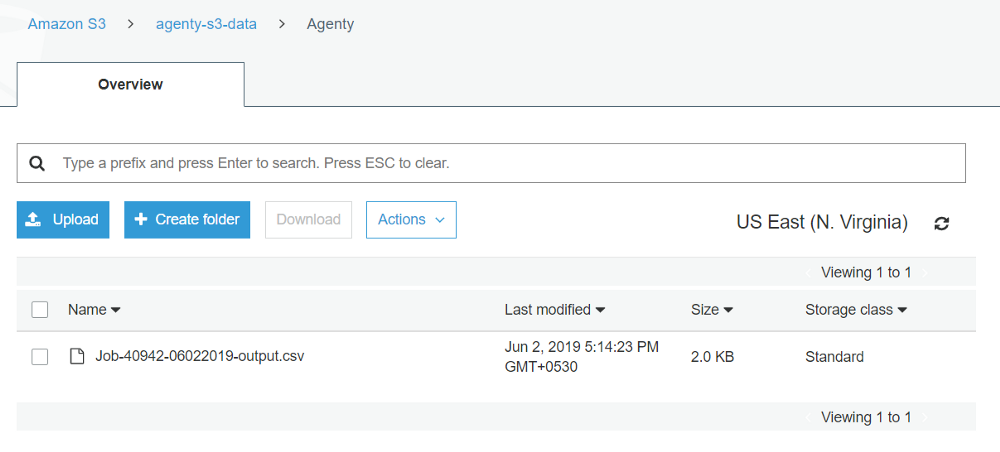
Now, we are done with configuring our S3 workflow with a web scraping agent which will scrape data from a website and upload the CSV result file to our S3 bucket on US East (N. Virginia) region. So just start the scraper by click on the Start button or using the API.

Once the job has been completed, check your S3 bucket and you’ll find that Agenty has uploaded your agent job result file on you S3 bucket with all the details you’ve selected on S3 plugin configuration: